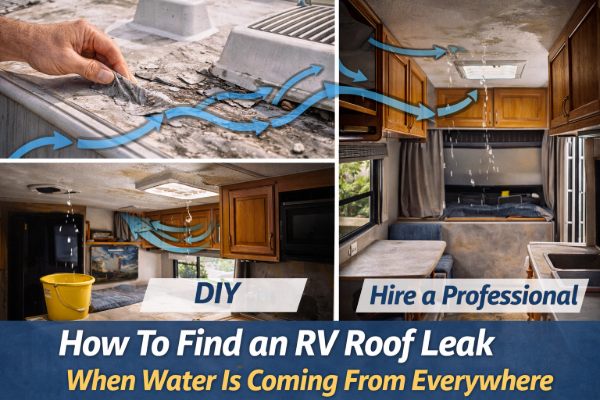
Few RV problems are more frustrating than water appearing in multiple places at once. Drips from cabinets, stains on the ceiling, damp walls — it can feel like the entire roof is failing.
The truth is usually simpler. One leak can make water look like it’s coming from everywhere. This guide shows you how to slow things down, stay methodical, and find the real source.
Why RV Roof Leaks Spread So Easily
RV roofs are layered systems. Water can:
-
Travel sideways under the roof membrane
-
Run along framing, wiring, or insulation
-
Pool before dripping out at multiple points
That’s why the visible water often has little to do with where it entered.
Step 1: Stop Chasing the Drips
The biggest mistake people make is trying to seal every spot where water appears.
Instead:
-
Ignore where water is dripping
-
Focus on where it could be entering
-
Assume there may be only one or two real entry points
Drips are symptoms, not causes.
Step 2: Identify the Highest Wet Area Inside
Water always moves downward.
Inside the RV:
-
Find the highest point showing moisture
-
Check ceiling seams, corners, and trim
-
Look inside upper cabinets and behind panels if possible
The leak source is usually above or slightly forward of the highest wet area.
Step 3: Inspect the Roof Beyond the Wet Area
Once you identify the interior zone, inspect:
-
Directly above it
-
Several feet forward and sideways
-
Roof edges and seams nearby
Water often enters ahead of where it shows inside, especially while driving.
Use this guide if needed:
How to Inspect Your RV Roof Step by Step
Step 4: Focus on High-Risk Leak Areas First
When water seems to be everywhere, the leak is often coming from a common failure point.
Check these areas carefully:
-
Front and rear roof seams
-
Roof edge trim
-
Vents and skylights
-
AC unit base
-
Antennas and mounts
Most RV roof leaks originate in one of these locations.
Step 5: Look for Sealant Failure Patterns
Sealant failure is rarely random.
Look for:
-
Cracked sealant lines
-
Sealant pulling away from fixtures
-
Brittle or chalky texture
-
Gaps at seam transitions
One failed seam can feed water into multiple interior areas.
Sealant compatibility matters:
Best Sealants for RV Roof Types
Step 6: Perform a Controlled Hose Test
If visual inspection doesn’t reveal the leak, slow things down with a controlled water test.
Key rules:
-
Start low and work upward
-
Test one roof section at a time
-
Spray gently
-
Wait several minutes between sections
Have someone inside watching carefully.
Step 7: Watch for Delayed Water Movement
Some leaks don’t appear right away.
After spraying:
-
Stop the water
-
Wait 5–10 minutes
-
Recheck previously dry areas
Delayed leaks often explain why water appears to come from multiple locations.
Step 8: Rule Out Condensation vs Leaks
Sometimes “water everywhere” isn’t a roof leak at all.
Condensation is more likely if:
-
Moisture appears evenly
-
Windows fog heavily
-
Water shows up during cold nights
-
No water appears during hose testing
True leaks usually worsen during rain or washing.
Step 9: Mark, Document, and Recheck
When you identify likely entry points:
-
Mark them on the roof
-
Take photos
-
Recheck after drying
Avoid resealing everything at once. Fix one area, then retest.
Diagnosis guide:
How to Diagnose RV Roof Leaks
Step 10: Know When to Stop DIY Diagnosis
If water still appears everywhere after testing:
-
Multiple leak points may exist
-
Structural damage may be present
-
Professional pressure testing may be needed
This is especially true if soft spots or sagging are found.
Related decision guide:
DIY RV Roof Repair vs Hiring a Professional: What’s Worth It?
Final Thoughts
When water seems to be coming from everywhere, the key is slowing down and thinking like water.
Most RV roof leaks:
-
Start small
-
Travel far
-
Create misleading symptoms
A calm, methodical approach almost always reveals the true source and prevents unnecessary repairs.